
Wood Stove Installation: Flue, Hearth and Sign Off Explained
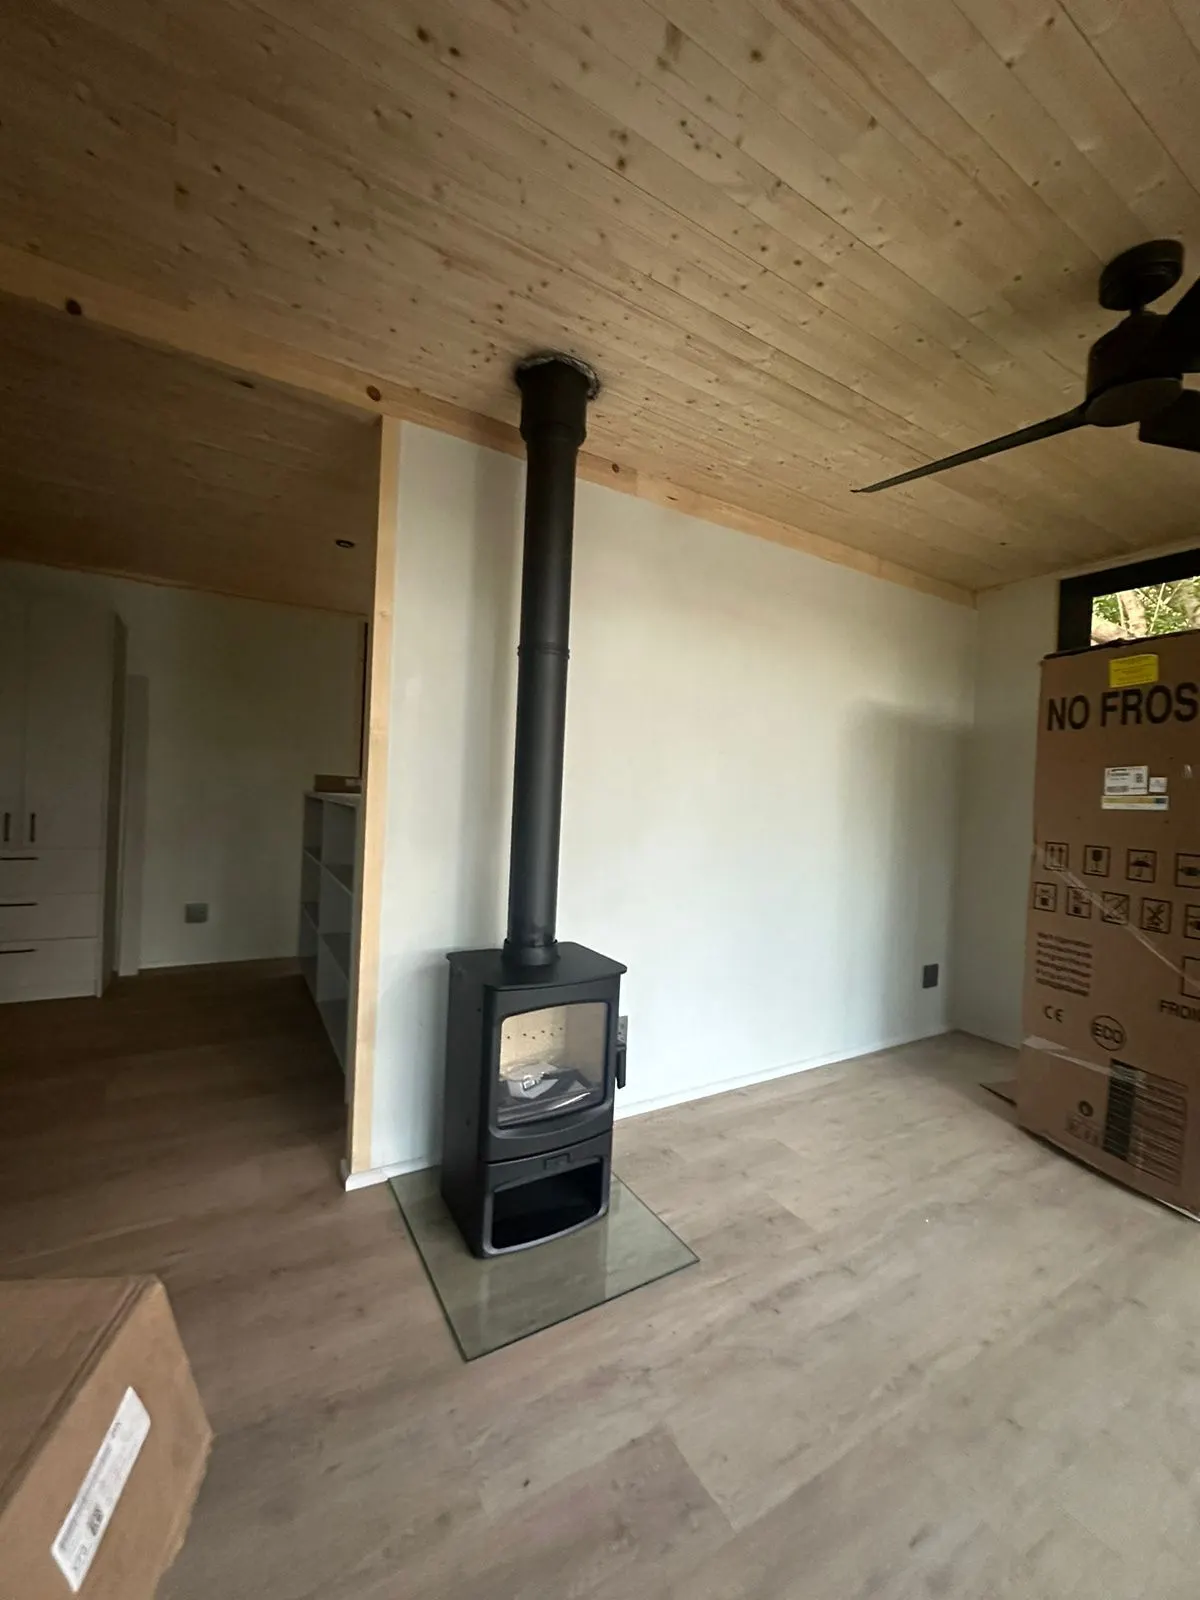
A wood stove is only as good as the way it is installed. Here is what goes into a proper job, from the hearth and flue to the roof seal and final sign off, and what to check in a quote.
Quick answer
A proper wood stove installation has four parts: a non combustible hearth under and in front of the stove, a flue that runs up through the ceiling and roof with safe clearances from timber, a watertight seal and cowl where the flue leaves the roof, and a final test burn and check before you use it. If any one of these is skipped, the stove can smoke, leak or become a fire risk.
Buying the stove is the easy part. Most of the work, and most of the risk, sits in what happens around it. The flue has to pass through ceiling boards and roof timbers without getting them hot. The floor under the stove has to handle heat and the odd falling ember. The roof has to stay dry in a Cape Town winter storm.
This guide walks through what our team does on a typical freestanding stove job, so you know what a good installation looks like and what to ask when you compare quotes.
Already chosen a stove, or need help picking one? Tell us the room size and send a photo, and we will quote the full installation.
Wood Stove Installation Starts With a Site Visit
No two rooms are the same, so a good installer looks before they quote. On a site visit we check where the stove will stand, what is above it in the ceiling and roof, how high the roof ridge is and what the floor is made of. We also look at the room size so the stove is not too big or too small for the space.
The visit is also when you choose between a straight vertical flue through the ceiling or a flue that runs out through a wall and up the outside. The vertical route usually draws best and looks neatest, but roof beams, geysers or a double storey above can change the plan.
What we check on a site visit
- ✓Where the stove will stand and how far it is from walls and furniture
- ✓What is directly above it: ceiling, roof space, beams, wiring or a geyser
- ✓The type of roof, such as tiles, IBR sheeting, slate or thatch
- ✓How high the flue must go to clear the ridge and nearby walls
- ✓The floor type and whether it can take the weight of the stove
The Hearth: What the Stove Stands On
Every wood burning stove installation needs a hearth. This is a non combustible base that sits under the stove and extends in front of the door, so embers and heat never reach a timber floor, carpet or laminate. Building regulations set the rules for hearth size and clearances, and the stove maker gives its own minimum distances too.
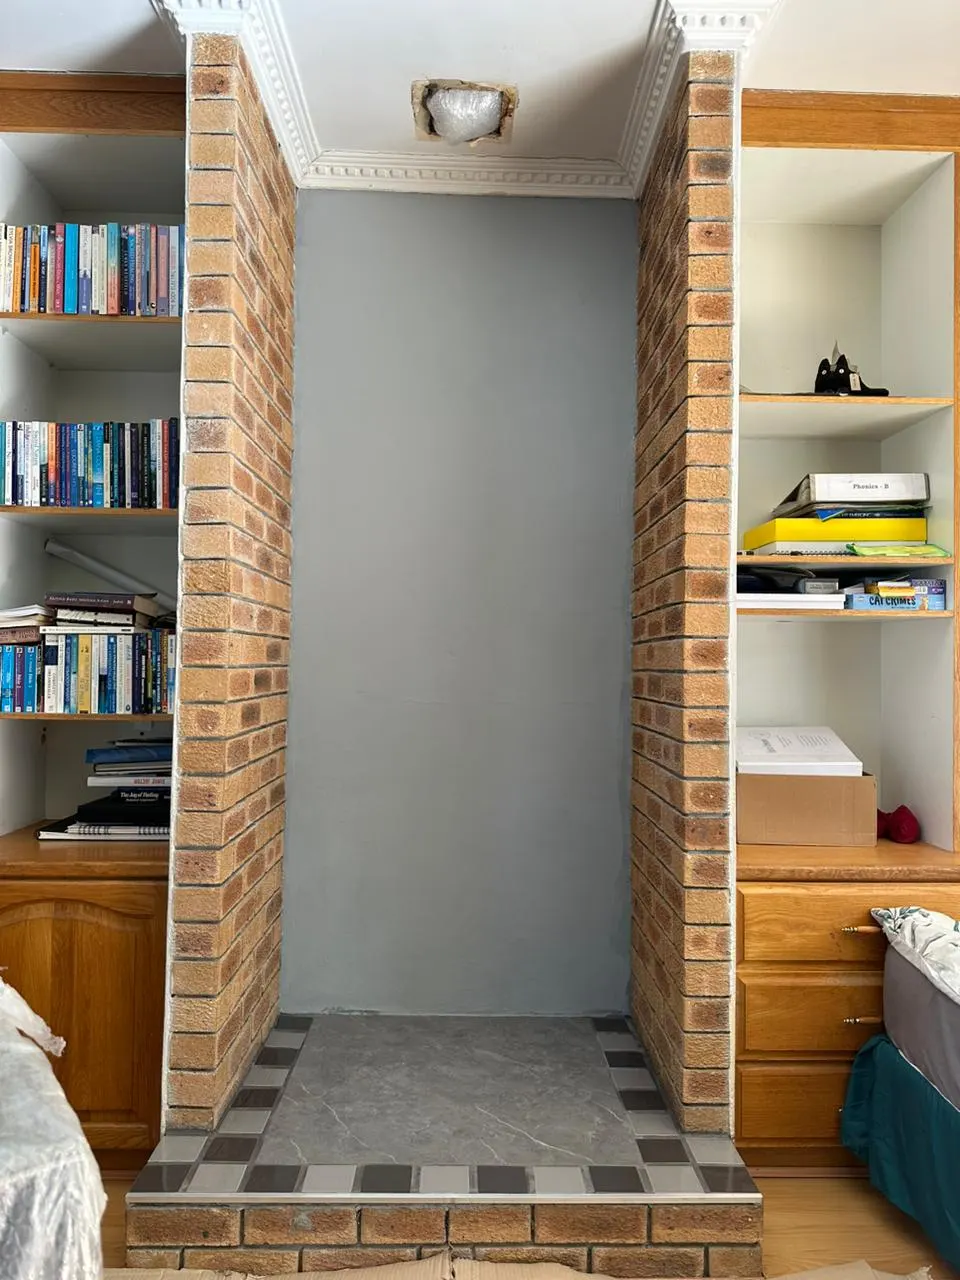
Hearth options for a freestanding fireplace installation
Glass floor plate
Toughened glass shows off the floor underneath. Popular in modern lounges with timber or tiled floors.
Steel floor plate
Black or grey steel suits industrial and farmhouse rooms and is easy to keep clean.
Tiled or stone plinth
A raised hearth built from brick and finished in tile or stone. Ideal in an alcove or old fireplace opening.
Existing hearth
An old fireplace hearth can often be reused if it is big enough and in good condition.
Clearance from walls matters as much as the hearth. A stove standing near a plastered brick wall can sit closer than one near a timber wall or wooden cupboard. We follow the manual for your stove and leave the gaps it asks for.
The Flue Run in a Wood Stove Installation
The flue is the most important part of the job. It carries smoke and gases out of the house, and it creates the draw that pulls air into the fire. A flue that is too short, has too many bends or leaks at a joint will make the stove smoke and burn badly.
Single wall and insulated flue pipe
Inside the room, the flue is usually a single wall steel pipe, which gives off some extra heat. Where it passes through the ceiling and roof space it changes to an insulated twin wall section, so the outside of the pipe stays cool enough to sit near timber. Our complete guide to fireplace flues explains the types in more detail.
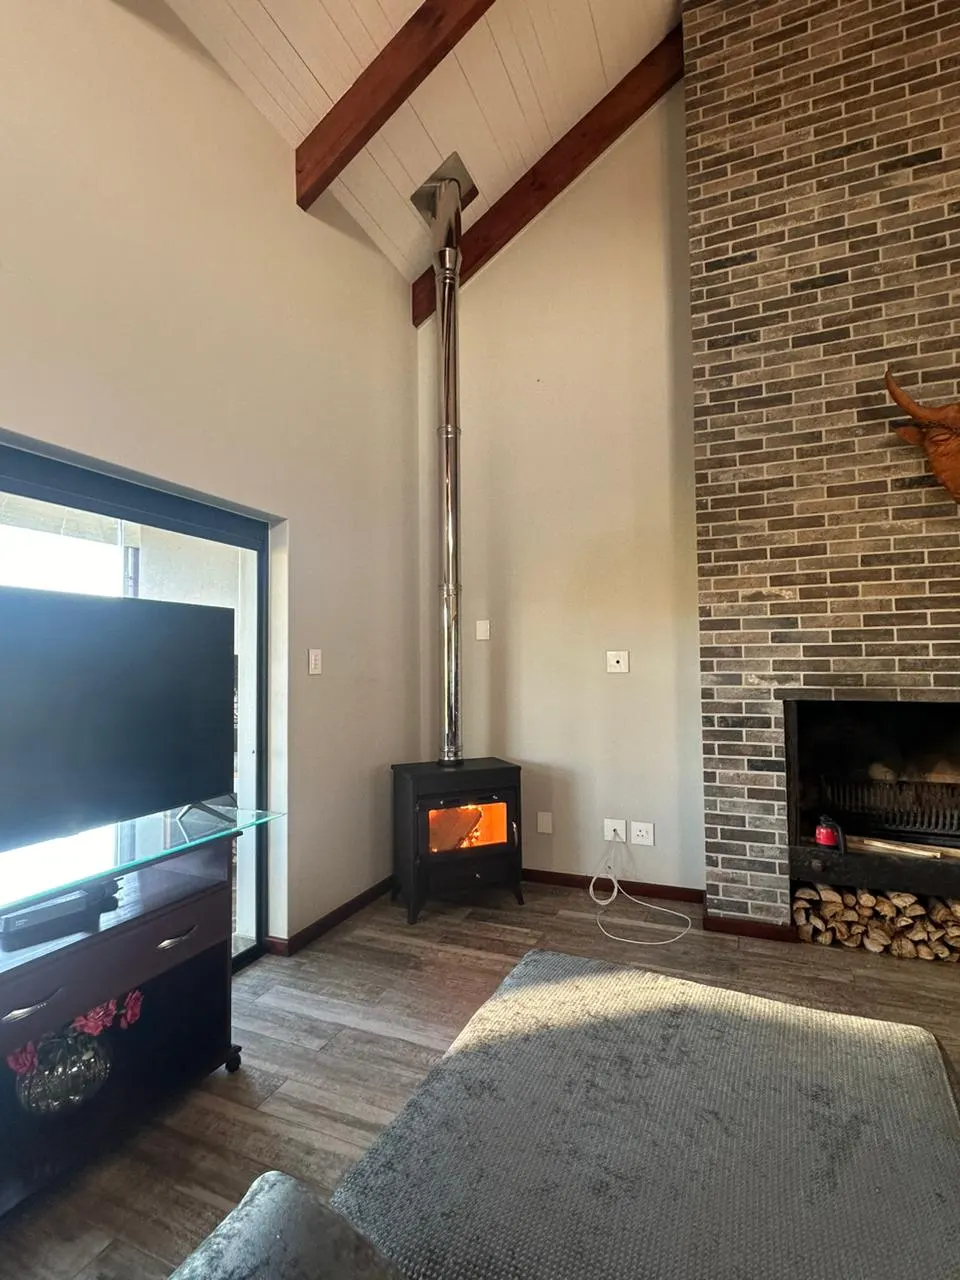
Sealing the roof and fitting a cowl
Where the flue leaves the roof, it needs a flashing that suits the roof type and a storm collar to keep water out. Tiles, IBR sheeting and slate each need a different approach. On top sits a cowl, which keeps rain and birds out and helps stop wind blowing smoke back down. If you only need help with the pipe work, our flue installation team can quote that part on its own.
⚠ Safety first
Never run a flue through a ceiling or roof without the right insulated section and clearance from timber. Roof fires from badly fitted flues are one of the most serious risks with any wood or coal stove.
Want your stove, flue and roof seal done by one team? We quote the whole job in writing after a site visit.
Coal Stove Installation and Other Fuels
A coal stove installation follows the same rules as a wood stove, with two extra points. The stove must be rated for coal, as coal burns hotter and needs a grate that lets air in from below. The flue also needs regular sweeping, because coal leaves a different kind of deposit. Some stoves are multi fuel and can burn both, so check the manual before you buy. For help choosing a model, read our guide to indoor fire stove types and sizes.
Sign Off: The Final Checks Before You Light Up
Once the stove, hearth and flue are in, the job is not finished until it has been tested. On our installs, the last steps look like this:
Check every joint
Each flue joint is checked for a tight fit, and the ceiling and roof penetrations are inspected from inside the roof space.
Test burn
We light a small fire and watch how the stove draws, checking for smoke at the door, the joints and the roof.
Show you how it works
We explain the air controls, how to light it, what wood to burn and how to keep the glass clean.
Clean up and paperwork
The room is cleaned, packaging removed, and you keep the stove manual and your written quote for your records.
It is worth telling your insurer that you have a new stove. Some insurers ask whether it was fitted by a professional, so keep your quote and invoice somewhere safe. A carbon monoxide alarm in the room is a cheap and sensible extra.
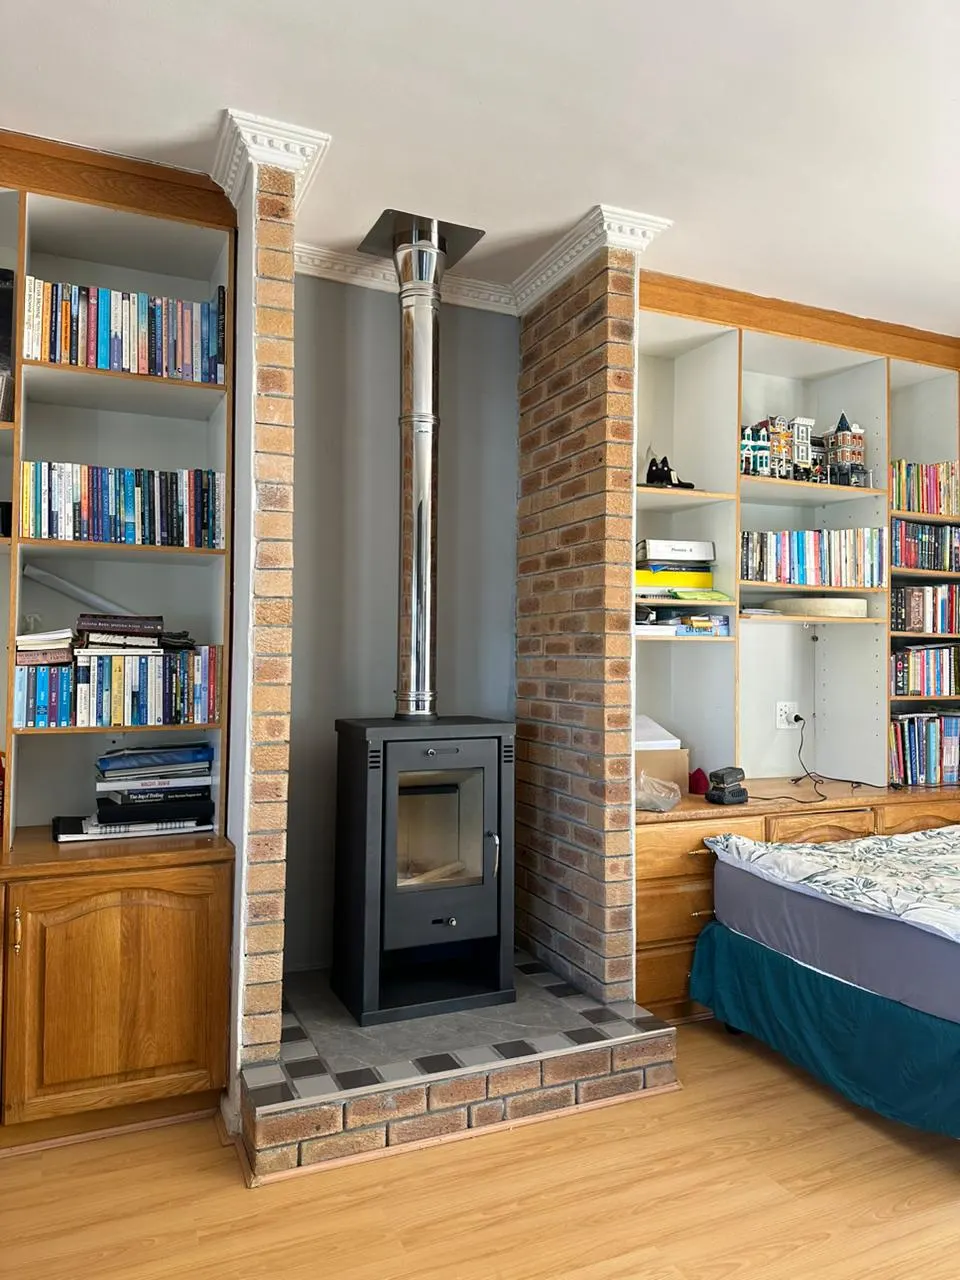
What a Wood Stove Installation Quote Should Include
When you compare quotes, check that each one covers the same work. A complete quote lists the stove (if it is being supplied), the hearth or floor plate, every flue section, the ceiling and roof penetrations, flashing, cowl, labour, the test burn and the clean up. If one quote is much lower, it is usually missing part of the flue or the roof work.
Our article on the cost of installing a fireplace explains what drives the price up or down. If you want to read about putting a closed fire into an existing chimney instead, see our guide on how to install a combustion fireplace.
Why Cape Town Homeowners Choose Fire Flames
When people search for wood stove installers near me, they want someone who will do the whole job properly, not only drop off a stove. Our team handles fire stove installation from start to finish across Cape Town, from Durbanville and Constantia to the Southern Peninsula and the West Coast. We visit, measure, plan the flue route and give you a written quote.
Still deciding between a stove and another kind of fire? If you are comparing fireplace installers near me, our installation page covers the full range of fireplaces we fit.
Tell us where you want the stove and send a photo of the room. We will come out, plan the flue and give you a written quote with no obligation.
Wood Stove Installation: Common Questions
How much does wood stove installation cost?
It depends mostly on the flue: how long it is, how many ceiling and roof layers it passes through and the roof type. The hearth and the stove itself also play a part. We quote after a site visit so the price covers your actual room and roof.
Is it hard to install a wood stove?
Placing the stove is simple. The hard part is the flue, the clearances from timber and sealing the roof so it does not leak. Mistakes here cause smoke, leaks and roof fires, so it is a job for an experienced installer.
What are the requirements for a wood stove installation?
You need a non combustible hearth, safe clearances from walls and furniture, a flue with insulated sections through the ceiling and roof, a flue that ends high enough above the roof to draw, and a proper roof seal and cowl. The stove manual lists its own minimum distances.
Can a wood stove be installed without a chimney?
Yes. Many of the freestanding stoves we fit go into rooms with no chimney at all. A steel flue runs straight up through the ceiling and roof, or out through a wall and up the outside of the house.
How long does a wood stove installation take?
Most installs take one to two days once the stove is on site. A job with a built hearth, an alcove or a tricky roof can take longer. Your quote should give you a timeline.
Planning this kind of work?
Call or WhatsApp with your suburb and photographs. Fire Flames can discuss your fireplace, braai or home project and quote.
Get A Quote →