
Build a braai with chimney matters because the right choice affects heat, safety, installation cost and long-term value for South African homes.
For broader fire safety guidance, the Fire Protection Association of South Africa is a useful independent reference alongside professional installer advice.
Tell us what you need and we’ll send a free, no-obligation quote — fast.
Request a Free Braai Quote
Step-by-step Guide to Installing an Outdoor Braai in Cape Town
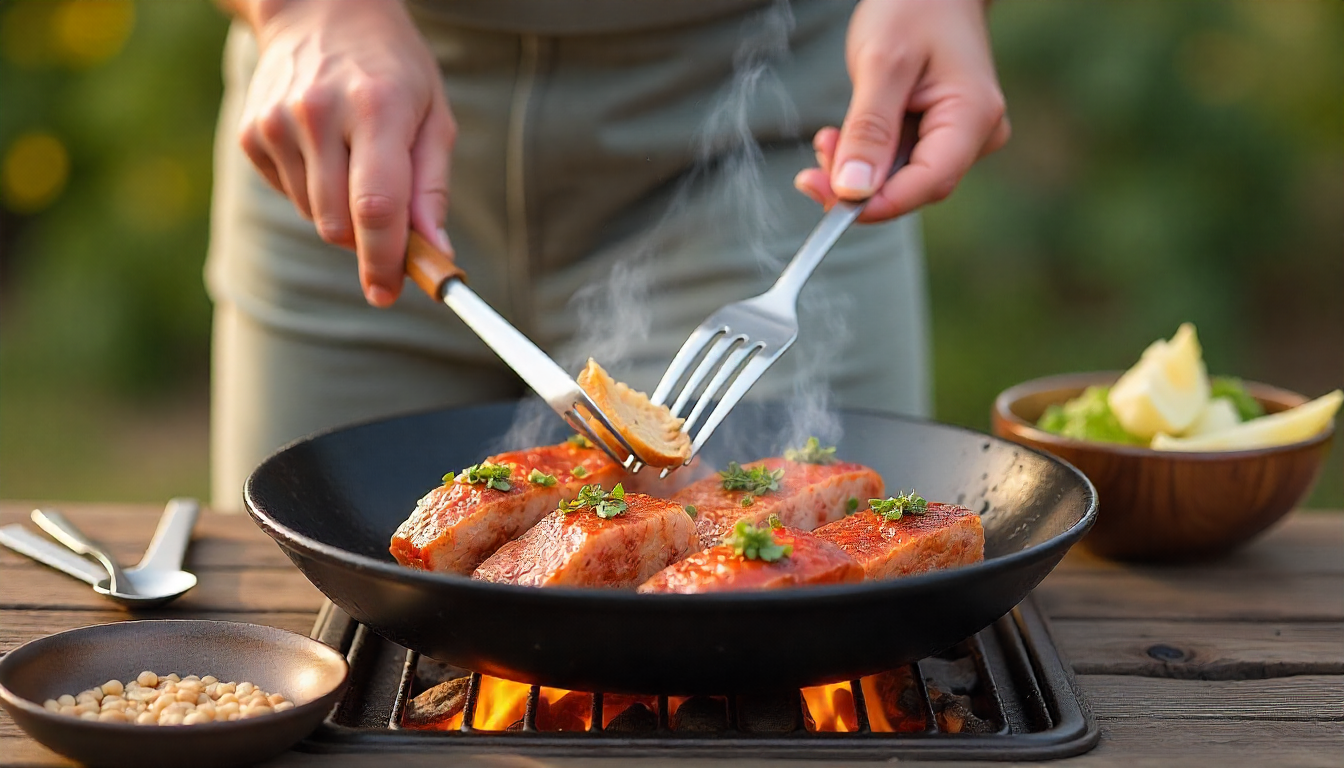
Building your own outdoor braai in Cape Town isn’t just a weekend project — it’s a proper upgrade to your home. We’ve installed braais across the peninsula, from Constantia backyards to Hout Bay plots with views of the mountain. The process is straightforward if you follow the right steps and use the right materials. Here’s how to get it done properly — a complete guide to building a braai that lasts. Few things are more satisfying than building your own South African braai from scratch.
Planning Your Braai Installation
Before you touch a trowel, spend time watching the wind. In Cape Town the southeaster comes howling through from October to March, and the northwester brings winter rain. Position your braai so smoke doesn’t blow into your living room or your neighbour’s patio. Downwind of both is the sweet spot.
Check your local building rules. Most municipalities don’t require plans for a simple braai under a certain height, but if you’re building a chimney that penetrates the roofline, you may need approval. Body corporates in sectional title complexes almost always have their own rules. Check before you start — not after.
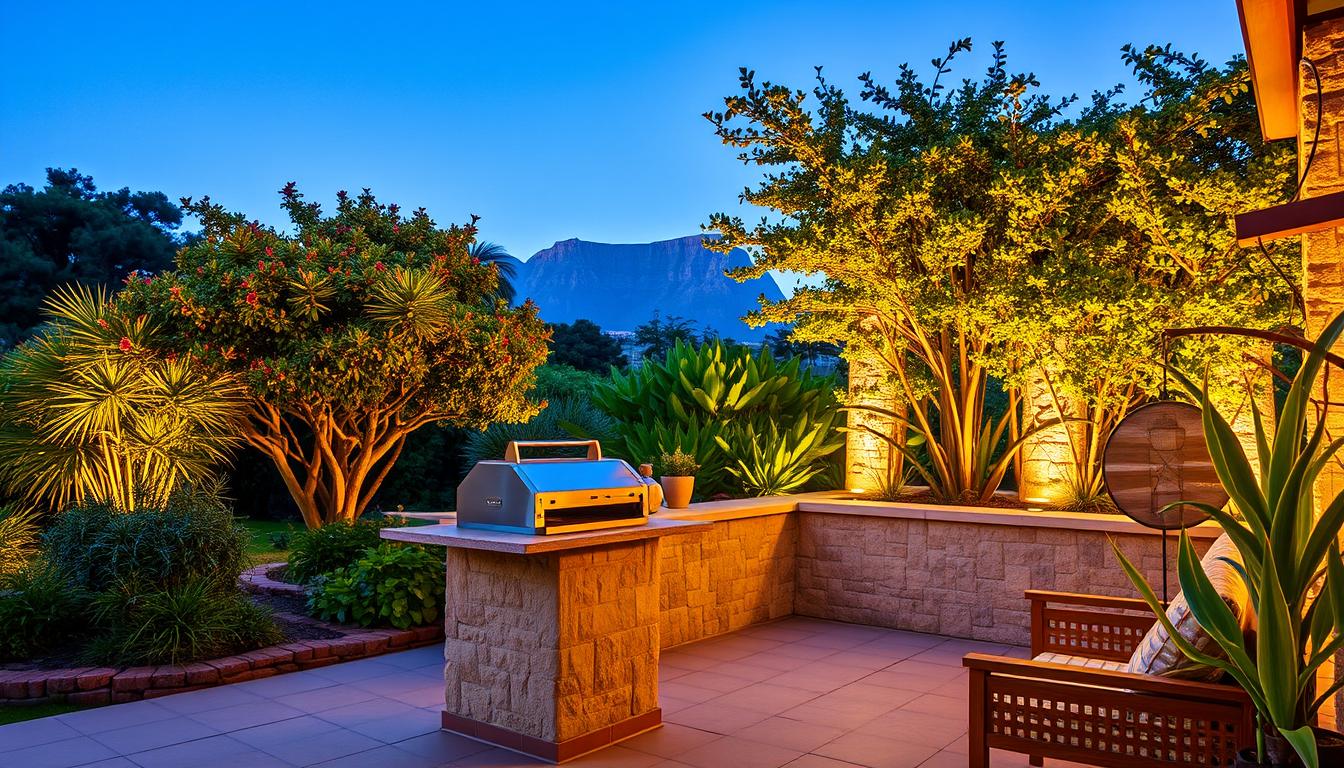
When building a braai, the setting matters. Choose between a covered patio, an open yard, or integrating into an outdoor kitchen. Each option adds outdoor appeal of your home in its own way. A covered patio gives you year-round use and protects your braai from rain. An open yard is simpler but exposed. Think about what works for how you actually live. Once you’ve chosen a location, the braai needs to be built to suit that specific spot.
Tools and Materials You’ll Need

Grab a tape measure, spirit level, brick-laying trowel, bolster chisel, club hammer, and a masonry hammer. This diy guide to building covers everything you need. For fixing cowls and metal supports, you’ll need Hilti screws or raw bolts. Eye protection and gloves aren’t optional — cutting bricks sends sharp fragments flying.
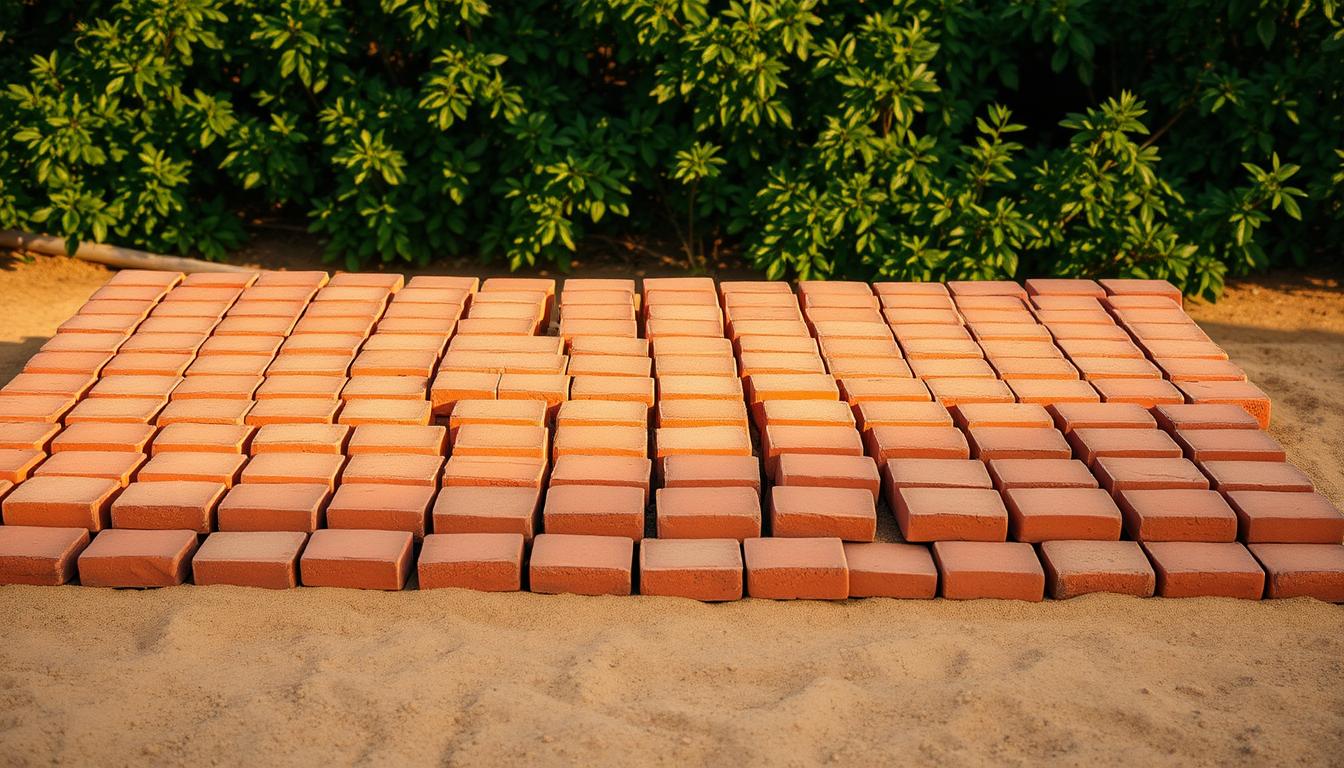
For materials, buy baked clay bricks for the outer structure and fire bricks (refractory bricks) for the firebox. Mix cement with building sand at a 1:5 ratio for your mortar, with plasticiser added to keep it workable. You’ll also need metal pins for a warming shelf, a solid metal base for the firebox, a cooking grid, and a grill grate sized to the width of the grate opening in your braai unit.
For insulation, get material rated to about 500°C. This goes between the braai shell and the first row of bricks. Extend it at least 1.2 metres up the flue to protect the mortar from heat damage. Heat-resistant silicone and flashing for the flue junction are essential — skip these and water will find its way in.
Preparing the Foundation and Slab
Everything rests on the foundation. Dig to a stable depth — in most of Cape Town that’s about 150 to 200mm below topsoil. Compact the sub-base in layers and remove any organic material. If your soil is soft, add a layer of crushed stone before compacting.
Set your anchor points before pouring. Steel reinforcement or mesh makes the slab stronger, especially if you’re building heavy brickwork on top. Place anchor bolts while the concrete is still wet for securing legs and fixing plates.
Your mortar mix should be one part of cement to five parts building sand, with plasticiser added to keep the mix workable. Don’t add too much water — a stiffer mix reduces shrinkage and cracks. Pour the slab, strike it off level, and screed with a straightedge. For a perfectly flat surface, use self-levelling cement as a finish coat. Allow at least 24 hours before building on it, longer if the weather is cold or damp.
Building the Brickwork

Lay the bricks out dry first — no mortar, just testing the fit. Setting your bricks out dry without mortar lets you spot problems before they’re permanent. Mark where the braai unit sits, ensuring about 50mm extra width and 25mm extra depth for insulation and movement gaps. The grid should sit roughly 200mm above the lintels that support the braai.
Mix your mortar and spread an even bed of mortar for the first course. Place each brick, tap it gently into position, and check with your spirit level after every second brick. Build a double row — an inner row for the firebox and an outer row for the structure. The gap between them holds your insulation.
Use a bolster chisel and club hammer to cut half-bricks for corners. Score the brick first, then strike. Wear eye protection for every cut. Build the brickwork to the correct height — about 100mm below your intended top. Once you’ve built the brickwork, install two or three lintels across the inner row to support the braai unit.
Installing the Braai Unit and Insulation
Position the braai unit on the lintels. Cover the steel face with heavy-duty plastic sheeting before any more brickwork — you do not want cement settling on the finish. Check clearances: 25mm on each side, 25mm at the back, and about 20mm between the top of the unit and the top brickwork course.
Pack your 500°C insulation into the gap between the braai shell and the inner brick row. Extend it 1.2 metres up alongside the flue. Use heat-resistant mortar at the firebox joints — standard mortar will crack under direct heat. Seal around the flue penetration with heat-resistant silicone and install flashing from the top of the brickwork to just over the flue jenny.
The Flue and Chimney

The flue needs to extend at least 750mm above the highest point of your roof for proper draw. Measure the position from the roof peak down to the braai floor, subtract the lintel height and braai height, then add that 750mm. That’s your total flue length.
Choose between a slip-on turbo cowl (fits over the flue, secured with pop rivets) and a bolt-on turbo cowl (bolts directly into the brick chimney with Hilti screws). Slip-on works when metal shows above the brickwork. Bolt-on is cleaner when the brick hides the flue.
Grease the cowl shaft and ball bearing before fitting. This prevents squeaking. If your braai is near a tall roof or large trees causing air turbulence, consider a fixed turbo cowl instead of a rotating one.
Finishing Touches

Turn some of the bricks nose-out so they act as corbels, creating ledges for your grill. Repeat the corbels two courses up to support the cooking griddle. Then push four metal pins into the mortar below the top course of brickwork to support a warming shelf — set them level and firm.
Let the mortar cure for at least four to five days before your first fire. This is where the payoff comes — braaing and enjoy your diy braai for years to come. Start with a small, controlled fire and watch the smoke draw. If smoke backs up, check your seals. Increase fire size gradually over the first few uses. Rushing the curing process causes cracks that could compromise the structure.
Integrating Your Braai Into an Outdoor Kitchen
If you’re already building a braai, think bigger. An outdoor kitchen turns a braai area into a proper cooking and entertaining space — and it adds serious value to your property. We’ve seen homes in Durbanville and Somerset West jump R100 000 or more in perceived value just from a well-planned outdoor setup.
Start with the work triangle: your braai, a prep counter, and storage. Keep them within a few steps of each other so you’re not running back and forth while the coals are hot. Use stainless steel for countertops if you want durability and easy cleanup. Concrete and baked bricks work well for the structure — they handle Cape Town’s weather without fading or cracking.
Waterproofing matters more than people realise. Seal every surface that’ll see rain. Use a proper membrane under any tiled counters and slope surfaces away from the braai unit so water doesn’t pool. The southeaster drives rain sideways, so even a covered kitchen needs protection on the windward side.
Want to go all out? Add an outdoor sink with plumbing — it makes food prep and cleanup far easier. A pizza oven next to the braai is another popular upgrade. We install combination setups across Cape Town, and the people who add these extras never regret it. You can also consider gas braais for a cleaner look and style, or wood-fired for the traditional South African experience — the best of both worlds is having both. Stock up on braai accessories from any number of different outlets in Cape Town. This is about more than building a braai — it’s a guide to building a braai area that becomes the centre of your home. An outdoor kitchen is the best way of improving the outdoor appeal of your home — and it does it in ways a standalone braai can’t match.
Common Mistakes When Building a Braai
After years of fixing other people’s work, we’ve seen every mistake in the book. Here are the ones that keep coming back.
Using standard bricks in the firebox. Regular clay bricks crack under direct heat within months. Fire bricks rated to 1300°C are the only option for the firebox interior. This is non-negotiable in any guide to building a braai.
Skipping insulation. Without a proper insulation layer between the braai shell and the outer brickwork, heat transfers outward and weakens mortar joints. The structure degrades faster than you’d expect — sometimes within a single Cape Town winter.
Wrong mortar mix. Too much cement makes the mortar rigid and prone to cracking. Too little and it crumbles. Stick to 1:5 cement to building sand. In the firebox, use refractory mortar only.
Poor clearance planning. Not leaving enough gap around the braai unit for expansion causes the brickwork to push outward when it heats up. You need 25mm minimum on all sides.
Ignoring wind direction. Building a braai without checking prevailing wind patterns means smoke in your face every time. Watch the wind for a week before committing to a position.
Rushing the curing. Lighting a full fire before the mortar has cured for at least four days creates thermal shock cracks. Slow and steady. After all, the whole point of braaing and enjoy your diy project is that it lasts decades, not months.
Maintenance Tips to Keep Your Braai Lasting
A braai installation isn’t a fit-and-forget job. Give it some attention each year and it’ll outlast you.
Do an annual inspection before winter. Check all mortar joints for cracks or gaps — repoint anything that’s deteriorated using the same 1:5 mix you built with. Pay special attention to joints near the firebox where heat stress is highest.
Inspect the flue for creosote buildup and blockages. Birds love nesting in braai flues during the off-season. Clean the cowl, grease the bearings if it’s a rotating turbo cowl, and make sure it spins freely. A stuck cowl means poor draw and a smoky braai.
Protect exposed brickwork from rain. A silicone-based brick sealer applied every two to three years keeps moisture from penetrating and causing spalling during cold snaps. Cover the braai opening with a fitted cover when it’s not in use — especially through winter.
This kind of upkeep is part of any honest diy guide to building something that lasts. If you’re serious about braaing and enjoy your outdoor space, your braai installation will reward you for years — treat the maintenance as seriously as the build itself.
Frequently Asked Questions
How to Set Up a Braai?
Start by choosing a sheltered position downwind of living areas. Prepare a level concrete or paving slab foundation. If you’re building brick, lay out your bricks dry first to test the fit. Mix mortar at 1:5 cement to building sand. Build double brick rows with lintels for support, install insulation between the inner and outer rows, and fit the flue extending 750mm above the roofline. Let everything cure for 4-5 days before your first small fire.
How Much Does it Cost to Build a Braai Room in South Africa?
A basic open braai area with slab and brick surround costs R15000 to R25000 in materials. A braai installation adds real value to your property — and your lifestyle. A fully enclosed braai room with roof, walls, and proper chimney runs R40000 to R80000 depending on size and finishes. Professional installation adds 30-50% on top. A freestanding braai on a paved patio is the budget option at R5000 to R12000 total.
What Bricks to Use for a Braai in South Africa?
Use baked clay bricks (stocks) for the outer structure — they’re cheap, local, and handle weather well. Fire bricks (refractory bricks rated to 1300°C) are mandatory for the firebox. Standard clay bricks will crack and crumble under direct heat. For mortar in the firebox, use refractory cement — not standard cement. You can buy fire bricks and refractory mortar from Build It, Builders Warehouse, or specialist fireplace suppliers.
Do I Need Building Plans for a Braai Area?
For a freestanding braai or simple open braai area, most Cape Town municipalities don’t require plans. But if your braai has a chimney that penetrates the roofline, you’ll likely need approval. Sectional title complexes and housing estates almost always require body corporate consent regardless of the braai type. Check with your local municipality and your body corporate before starting — fines for unapproved structures aren’t cheap.
What Tools Do I Need to Build a Brick Braai?
A tape measure, spirit level, brick-laying trowel, bolster chisel, club hammer, masonry hammer, and a square. For metal fixings: Hilti screws or raw bolts, and pop rivets for cowl attachment. Safety gear: eye protection, dust mask, and work gloves. Most of these are available at Builders Warehouse or any decent hardware store.
How Do I Prepare the Foundation and Slab?
Excavate 150-200mm below topsoil, compact the sub-base in layers, and add crushed stone if the soil is soft. Set reinforcement mesh and anchor bolts before pouring. Use a 1:5 cement to building sand mortar mix for the bed. Pour, level with a straightedge, and finish with self-levelling cement for a flat surface. Let it cure for 24-48 hours before building on top.
How Long Should Mortar Cure Before First Use?
Minimum four to five days for standard mortar. Longer if the weather is cold or damp. Start with a small fire — don’t throw a big braai on day one. Gradually increase fire size over the first 4-5 uses. This slow curing prevents thermal shock cracks in the brickwork and mortar joints. Rushing this step is the most common DIY mistake we see.
Where Can I Buy Braai Materials in Cape Town?
Build It and Builders Warehouse for bricks, cement, sand, and basic tools. Specialist fireplace suppliers like Fireplace Warehouse, Infiniti Fires, or Hydrofire for flue sections, cowls, and fire bricks. BestBraais and Gijima Braais for complete braai units. For insulation and refractory materials, try dedicated masonry supply stores. Buy quality cement — cheap cement gives you cheap results.